A mechanic’s straight-shooting breakdown of DIY checks vs. a professional pre-purchase inspection, including costs, limits, and when to walk away.
Used Car Buying Guide
Will Your Child Seat Fit? Check the Back Seat Before You Buy
Before you buy a used car, do a real child seat fit check. Bring the seat and both manuals, confirm safe seating positions, LATCH and tether limits, belt fit, and front-seat clearance.

Ben Sullivan
Ben Sullivan is a former ASE-certified mechanic with over 15 years of experience inspecting, repairing, and appraising used vehicles. He contributes to Car Wise Guide to help everyday buyers navigate the used car market with confidence, armed with the knowledge to spot hidden red flags and negotiate fair prices.
Published October 18, 2026
Updated October 18, 2026
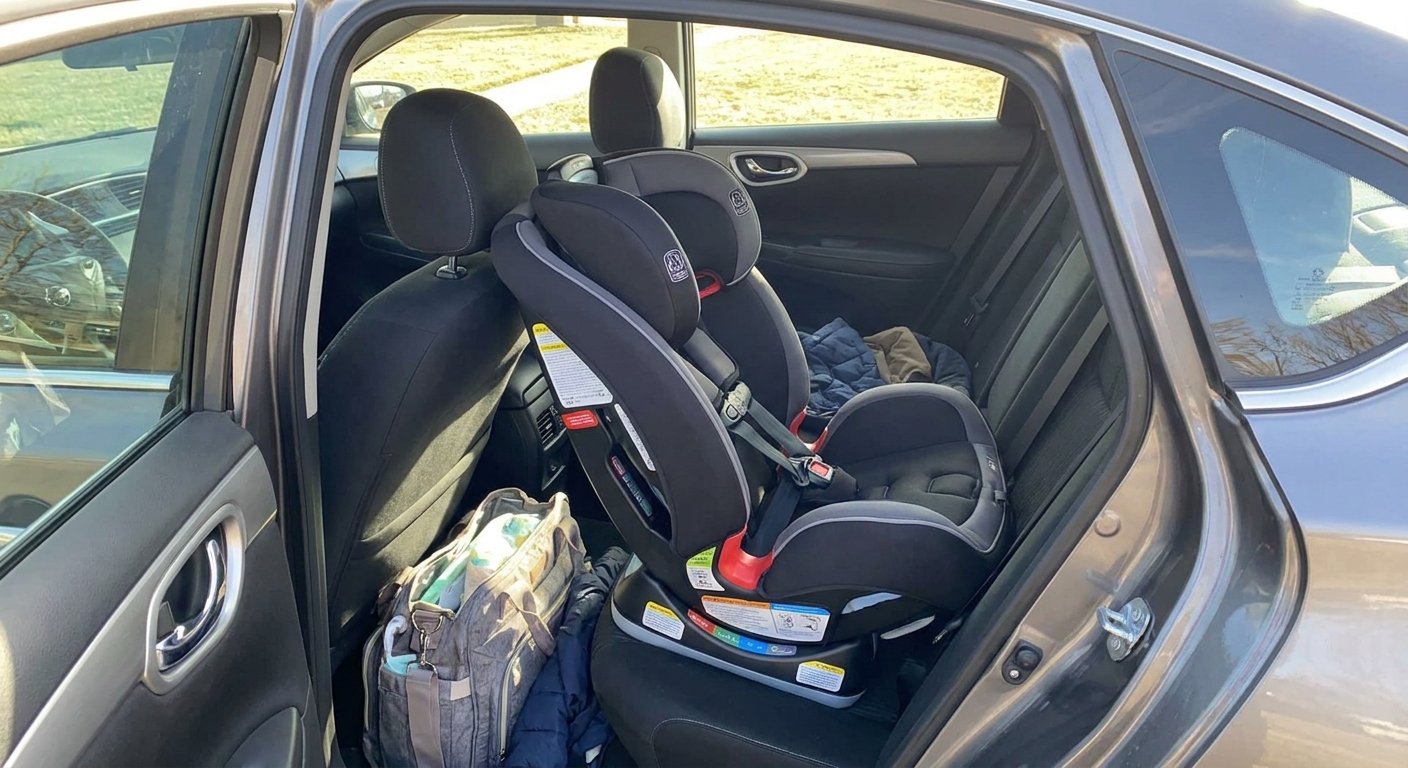
If you have kids, the back seat is not a “we’ll figure it out later” part of the purchase. I have watched too many families fall in love with a used car, sign papers, then realize their rear facing seat forces the front passenger into the dashboard, the tether anchor is buried behind a fixed headrest, or the center seat does not allow a workable car seat install at all.
The good news is you can catch most of these problems with a simple, stationary fit check before you buy. No tools. No guessing. Your actual seat, the right instructions, and a few minutes of patience.
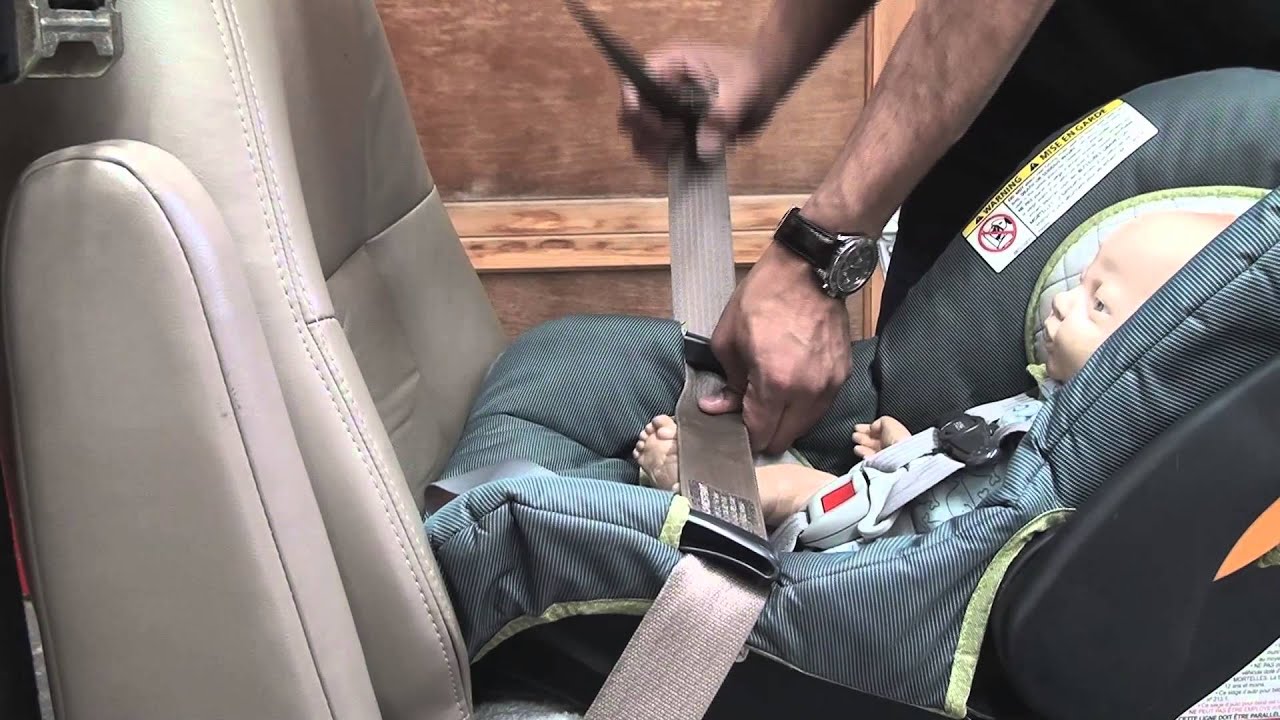
What to bring to the fit check
Do not rely on online photos or “it should fit.” Bring the exact gear you will use.
- Your actual child restraint (rear facing, forward facing, booster, or all in one)
- The car seat manual (paper or downloaded PDF)
- The vehicle owner’s manual for the specific car you are checking (ask the seller, or pull it up by VIN on the manufacturer site if available)
- Any required inserts or base (for infant seats)
- A small towel or pool noodle only if your specific car seat manual explicitly allows it for angle adjustment
I also recommend bringing a second adult if possible. One person can keep the seat stable while the other reads the manual and checks anchors and routing.
Do the check parked, not during a test drive
This is a stationary fit check, not something you rush through while the salesperson is talking. Park on level ground, open both rear doors, and take your time. You are verifying that the car can support a correct installation in an approved seating position, and that daily use will be realistic.
If a seller will not give you ten minutes to do this safely, that is useful information about how the rest of the sale will go.
Step 1: Confirm approved seating positions
This is where a lot of parents get surprised. Some vehicles restrict where a car seat can be installed, especially in the center seat. Others have specific rules about borrowing lower anchors from adjacent seats.
Check the vehicle manual for:
- Allowed car seat positions (left, center, right)
- Lower anchor locations and whether “center LATCH” is permitted
- Head restraint rules (some require removing or raising headrests, others prohibit removal)
- Seat belt locking method (switchable retractor, locking latchplate, or special instructions)
If either the vehicle manual or the car seat manual prohibits a seating position or an installation method, do not use it. If the vehicle manual says the center seat does not allow a child restraint at all, treat that as final.
Step 2: Choose the right install method
Most seats allow installation with either the seat belt or the lower anchors (often called LATCH). What matters is what your car seat manual allows for your child’s current weight and your preferred orientation.
Two key rules to verify
- Lower anchors have limits. Many car seats require switching to a seat belt install after a certain child weight. Some vehicles also publish a maximum combined weight limit for child plus seat.
- Top tethers matter for forward facing. If you will use the seat forward facing, you want easy access to the top tether anchor and a routing path that matches the vehicle manual.
If you are not sure which limit applies, use the more conservative number and ask a certified Child Passenger Safety Technician (CPST) to confirm.
Step 3: Find lower anchors and tether anchors
In the real world, the anchors are not always easy to reach. A used car can have tight seat bights (the crack where the seat bottom meets the seatback), stiff upholstery, or anchor points that are set deep.
Lower anchors (LATCH)
- Find the anchor symbols on the seat, if present
- Confirm your connectors can reach and clip on without twisting
- Make sure the strap path is not blocked by hard plastic trim
Top tether anchors
- Confirm the anchor exists in your chosen position
- Check that you can route the tether exactly as the vehicle manual describes
- Make sure you can tighten it without scraping your knuckles every time
Some SUVs and wagons put tether anchors on the back of the rear seat or in the cargo area. That is fine if accessible, but you want to see what “every day use” looks like with groceries, strollers, and cold hands.
Step 4: Install and check tightness
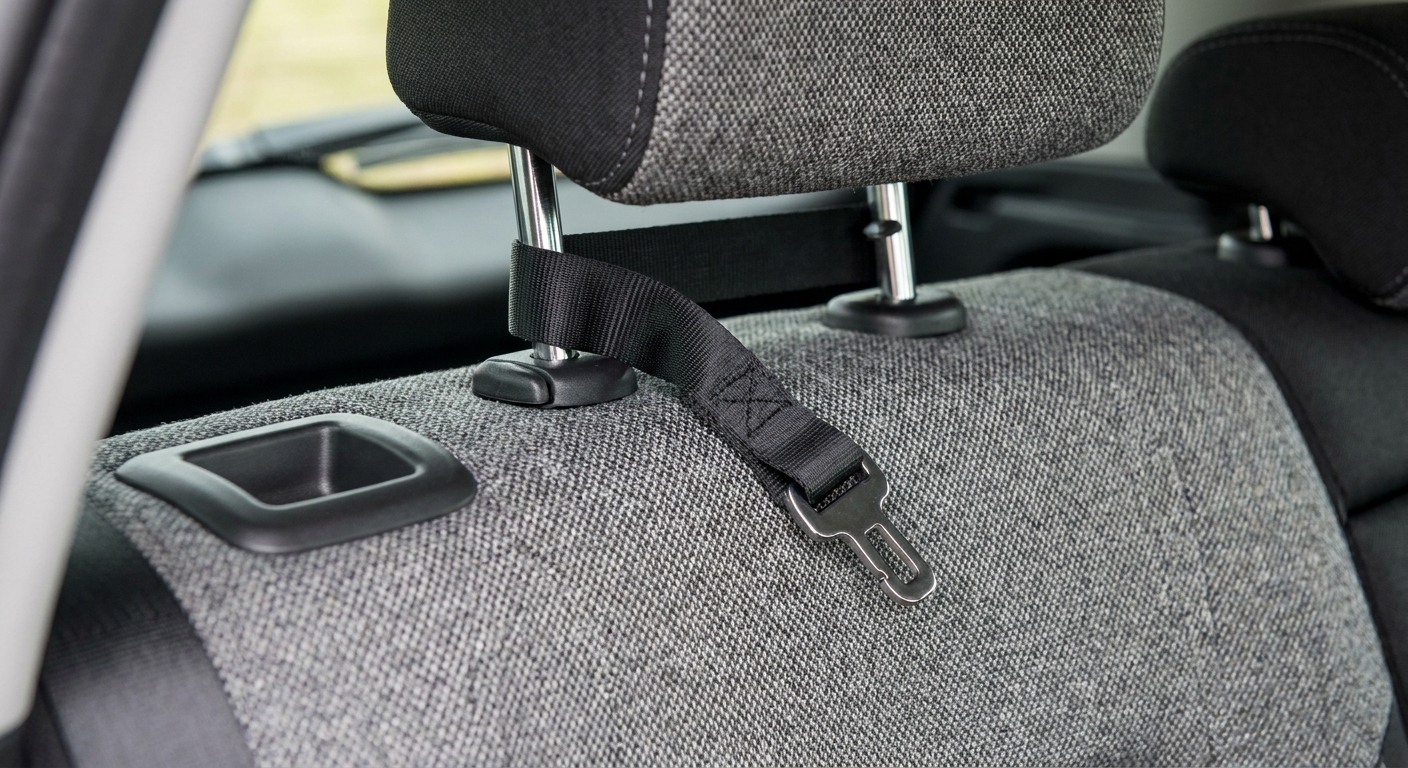
Install the seat the way you would actually use it, following the manual. Once installed, test tightness at the belt path, meaning the point where the seat belt or the lower anchor strap runs through the car seat. You are looking for a secure install there, not a rock solid seat everywhere.
Quick tightness check
- Grab the seat at the belt path with your non-dominant hand
- Push and pull side to side and front to back
- Many CPSTs teach that a correct install should not move more than about 1 inch at the belt path
If you cannot get a tight install without heroic effort, that is a compatibility issue worth taking seriously. Some seat and vehicle combinations are just fussy.
Step 5: Check space and livability
A car seat “fits” in more than one sense. It might physically install, but still make the vehicle miserable to live with.
Rear facing seats: watch these pinch points
- Front passenger legroom. Slide the front seat back to a normal adult position and confirm the rear facing seat does not force it uncomfortably forward or outside the vehicle manufacturer’s guidance for safe positioning and airbag clearance.
- Seatback contact rules. Some car seat manufacturers allow light contact with the front seat, others do not. Follow your car seat manual, and do not ignore vehicle rules either.
- Recline angle. Confirm the angle indicator is within the allowed range on level ground.
Forward facing seats and boosters
- Headrest and shoulder belt geometry. Boosters especially depend on good belt fit and head support.
- Top tether routing. Verify it is clean and repeatable.
- Kid access. Can your child climb in without stepping on the buckle stalk and twisting it?
Also check whether you can comfortably load your child without contorting. Narrow door openings and high ride heights get old fast.
Booster belt fit: a fast check
If you are buying a car for a booster rider, do a quick belt fit check in the exact seating position you will use. Poor belt geometry can make a booster a non-starter.
- Lap belt should sit low on the hips, touching the upper thighs, not up on the belly
- Shoulder belt should cross the middle of the shoulder and chest, not cutting into the neck and not slipping off the shoulder
- Head support matters: if the vehicle seatback or head restraint is low, confirm the child’s head will be supported as required by your booster manual
Used-car and seat belt quirks to watch
- Inflatable seat belts. Some vehicles have inflatable rear seat belts, and some car seats or boosters have restrictions with them. Check both manuals.
- Locking behavior. If you are doing a seat belt install, confirm you can lock the belt as the vehicle manual describes.
- Access with other passengers. If you ever need a third person in the back, verify you can still reach buckles and keep belts usable.
- Crash or flood history. A clean install is not the whole story. Crash damage, flood damage, or altered seat belts can affect safety systems. If anything looks repaired, missing, or mismatched, ask questions and walk away if answers are vague.
Common gotchas on used cars
- Borrowed lower anchors that are not allowed. Many parents assume the inner anchors from the left and right seats can be used for the center. Many vehicles prohibit this.
- Buried buckle stalks. Some rear seats have long, floppy buckle stalks that cause the latchplate to sit in the belt path. That can make installs tricky or unsafe.
- Fixed headrests. Certain headrest shapes interfere with forward facing seat placement or booster belt routing.
- Hard plastic seat contours. Deep bolsters and stiff trim can prevent a flat, stable base for some car seats.
- Third-row surprises. If you are shopping a three-row vehicle, do not assume the third row has tether anchors in every position.
If you’re unsure, bring in a CPST
There is no shame in calling in an expert, especially if you are switching from rear facing to forward facing, adding a second seat, or moving into a vehicle with a tight back seat.
A certified Child Passenger Safety Technician (CPST) can confirm you are using an approved seating position, installing correctly, and getting safe belt fit. Some fire departments, hospitals, and local safety organizations host events, and some technicians offer appointments. If you need a starting point, check Safe Kids, your state or local traffic safety office, or a local children’s hospital for inspection resources.
My advice: if your fit check leaves you with “I think it’s okay,” pause. Try a different seating position, try the other install method if allowed (seat belt vs lower anchors), or pick a different vehicle. Safety should feel like a confident yes.
Quick parking lot checklist
- Seat and both manuals are on hand
- Chosen seating position is approved in the vehicle manual
- Installation method is allowed by both manuals
- Lower anchors used only where allowed, and within weight limits
- Top tether anchor present and reachable (for forward facing)
- Install is tight at the belt path
- Front seats can be set to a safe, comfortable driving position
- Booster belt fit is good (if using a booster)
- Door opening and loading height work for your daily routine
FAQ
Should I use LATCH or the seat belt?
Use whichever method your car seat manual allows for your child’s current weight and your seating position, and that your vehicle manual allows in that spot. LATCH is not automatically safer than a seat belt. A correct, tight install is what matters.
Can I put a car seat in the middle seat?
Sometimes yes, sometimes no. The vehicle manual will tell you whether the center seat is approved for a child restraint and whether it has its own lower anchors or permits a seat belt install. Do not assume center LATCH is allowed, and do not use a position or method that either manual prohibits.
What if the used car does not have tether anchors?
Many newer vehicles have them, but older vehicles and some seating positions may not. If you need a forward facing installation, a missing or unusable top tether is a big deal. Confirm what the vehicle was equipped with and what is allowed by the manufacturer, and ask a CPST if you are unsure.
Is it okay if the car seat touches the front seat?
Only if both the vehicle manufacturer and the car seat manufacturer allow it. Many car seat manuals address this directly. Follow the stricter rule.